Sharing is caring!
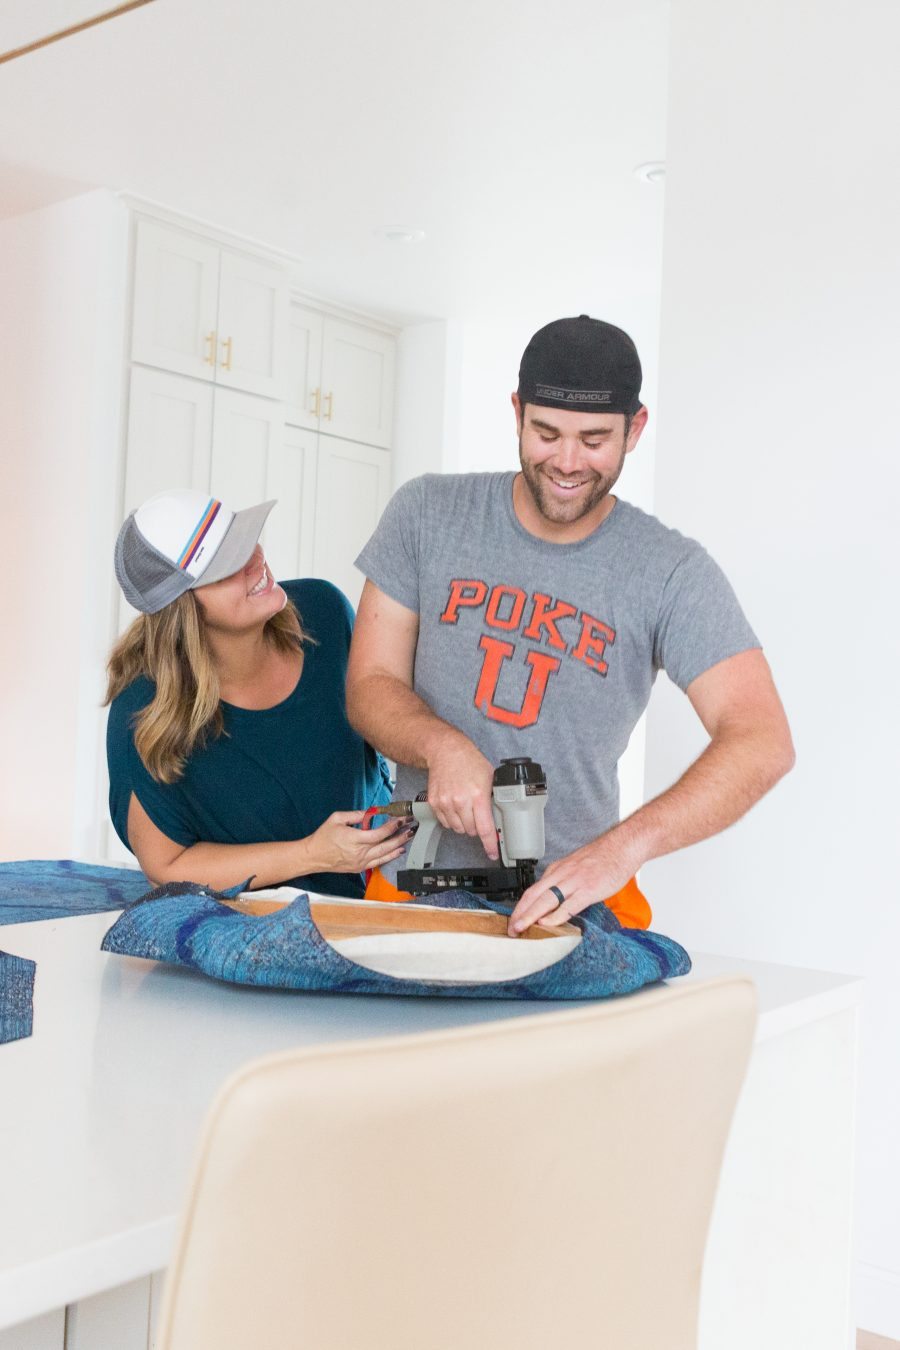
First of all, I wasn’t allowed to hold the nail gun one time and I’m still ticked off about it.
Welcome to WEEK 4 of cc+mike do the One Room Challenge – Breakfast Nook on a Budget Style. As you will see, this week was all about staining and recovering the chairs for our breakfast nook area. In case you are here for the first time, you are probably going to want to check out Week 1, Week 2, and Week 3 to catch up, or, if you prefer, I can sum this up for you really quickly: There is a super cool event every October and April called the One Room Challenge where designers and bloggers take the challenge to transform a space in just 6 weeks while blogging and updating everyone on our progress. I totally signed us up for this event without giving Mike Miller a heads up. Why? Well, because we had a room off our kitchen that has been completely empty ever since we moved into our house—which was a year ago by the way—and I had the phenomenal idea of making the space into a sitting room. However, Mike Miller did NOT agree with the sitting room idea when he saw the design board I made for the space. Ok, if I’m being honest he did NOT agree when he saw the budget that went with the design board. So, we did that thing that all married couples must do—we compromised. And by compromised, I mean that I signed us up for the One Room Challenge and said we would do the room on a $500 budget using repurposed and thrifted items I already had, forcing Mike Miller to help me pull it all off since he said no to the sitting room idea.
So without further ado, I give you week 4 of our ORC challenge where we tackled staining and recovering these thrift store chairs that started with 7 coats of paint and nasty, dated beach print fabric—”that really stinks and smells like an old person smell”—to quote Mike Miller’s exact words. Oh yes, and I’m not scared to enlist some kids to help with my projects either as you will see. You gotta raise them right which means they need to know how to go thrifting and do some flipping and remodeling and repurposing.
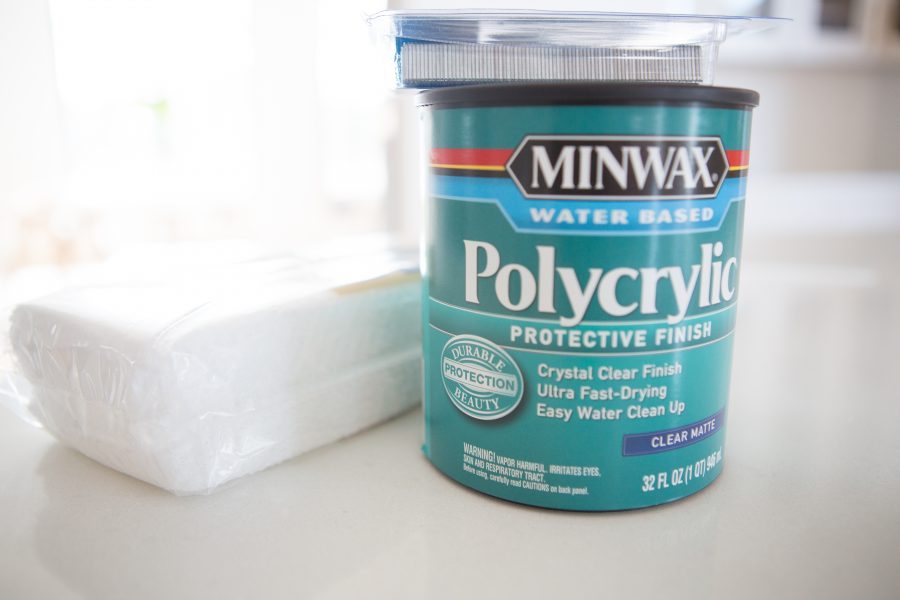
First off, we had to put the clear coat on the chairs. If you want to see what these babies looked like before, make sure you read Week 2. That was no freaking joke stripping those chairs and I gave in after 4 solid hours of trying to strip ONE chair and still not finishing, and took them to a professional. They came back beautifully sanded down and ready for a clear coat. Here’s the brand we chose—Minwax clear matte protective finish.
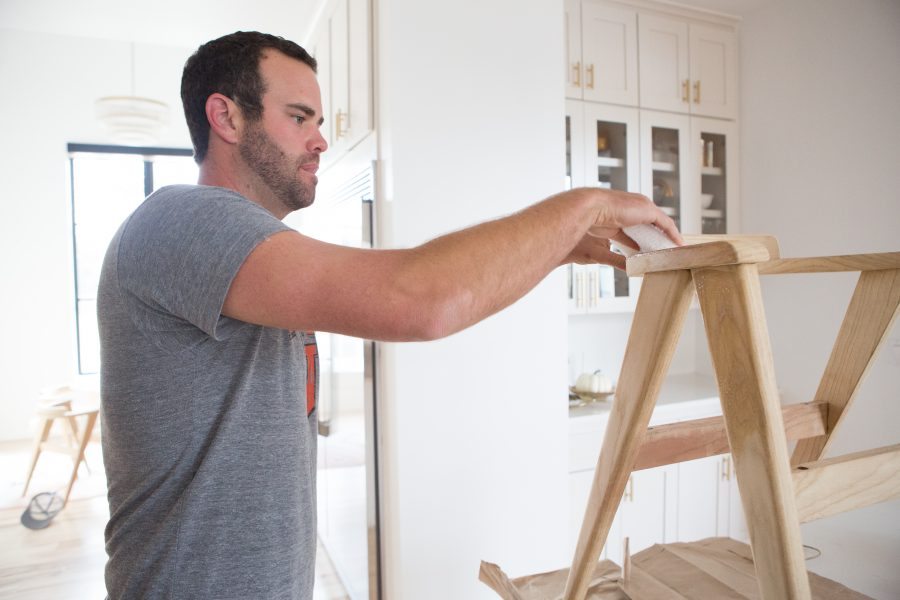
After we were done with the clear coat it was time to get this ugly, dated beach fabric that apparently “smelled like old people” off these seat covers. Like I said, I enlisted help as you will see.
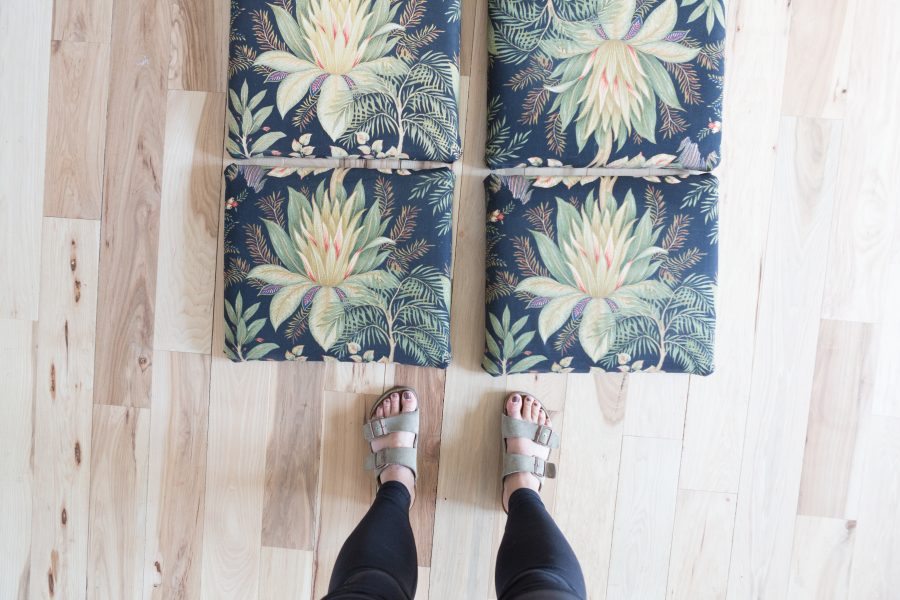
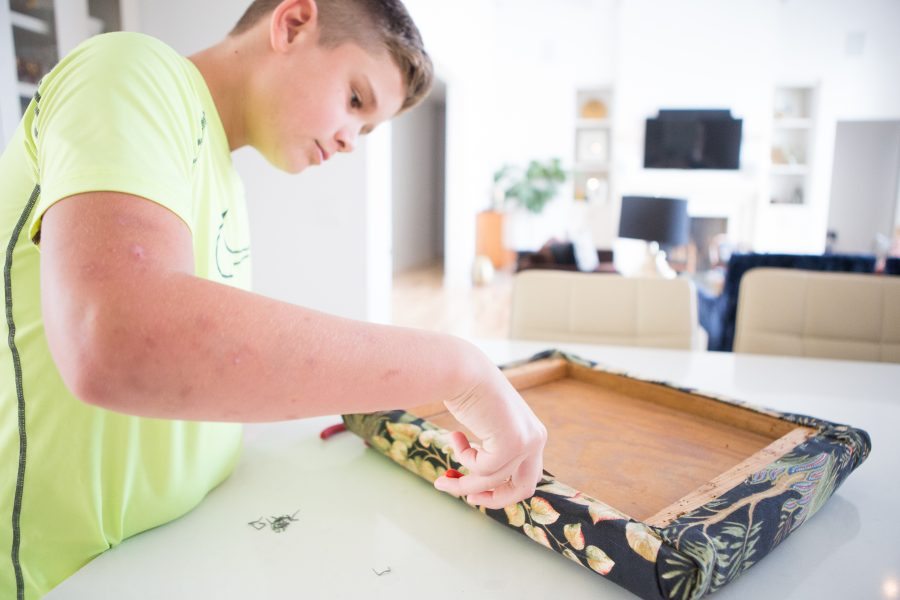
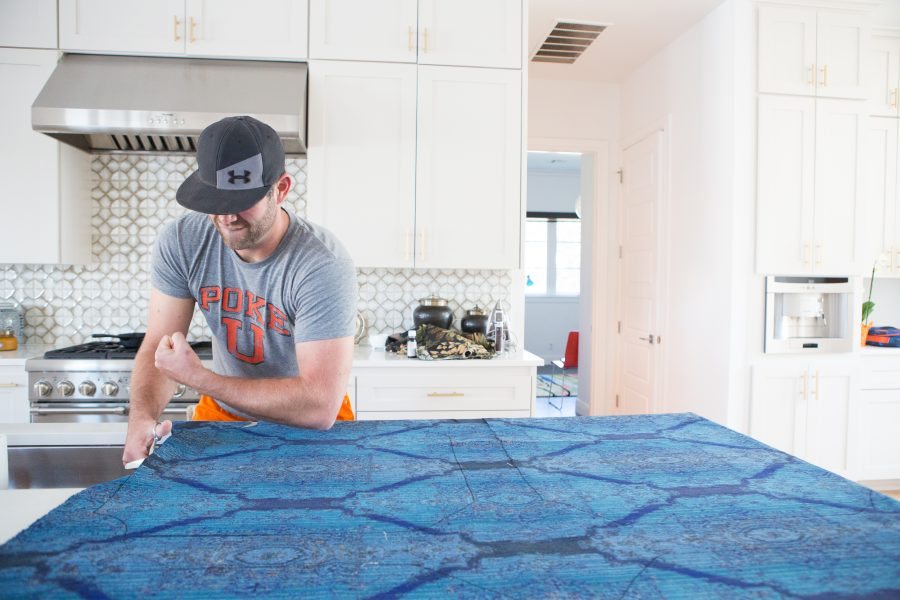
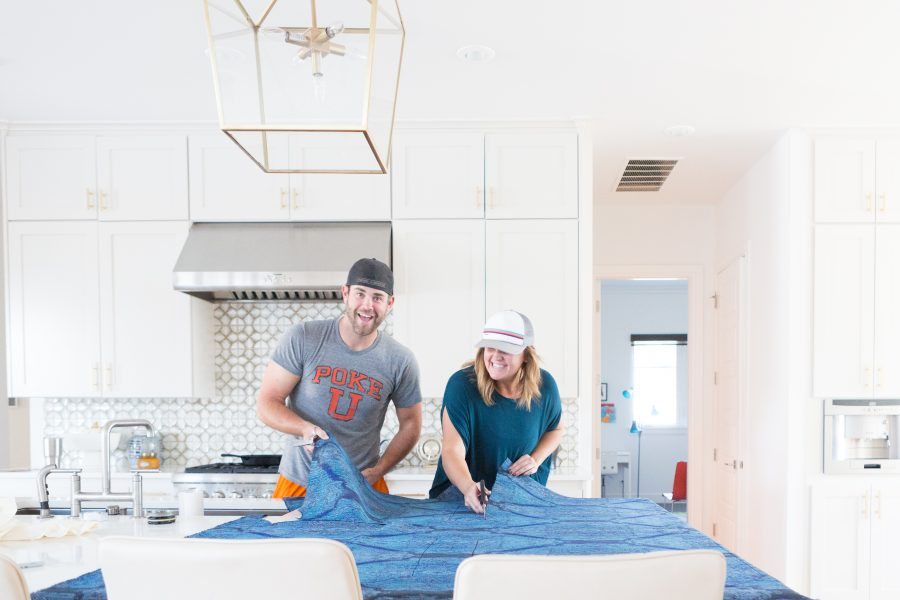
OK after we stripped the seat covers down, it was time to recover them with my pretty new Ralph Lauren fabric that I ordered from Calico Corners in Tulsa. Mike Miller said he was feeling very manly as he ironed the fabric and helped me cut it. Yes, we 100% enlisted our daughter to take some pictures for us while we were doing this project and of course, it turned into a competition. Mike Miller said he was a better and faster fabric cutter than me. Yeah right. We will just let the pictures do the talking about this portion of the project….
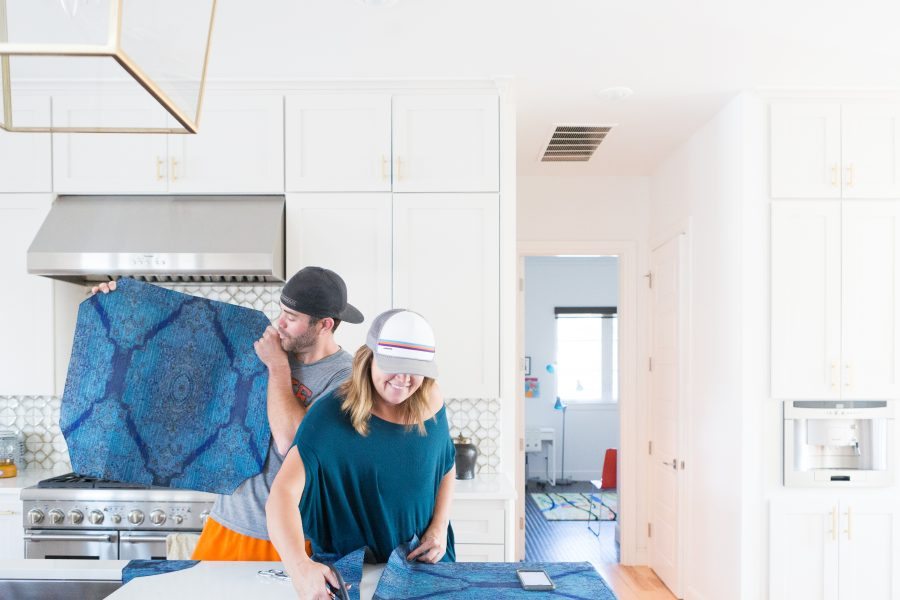
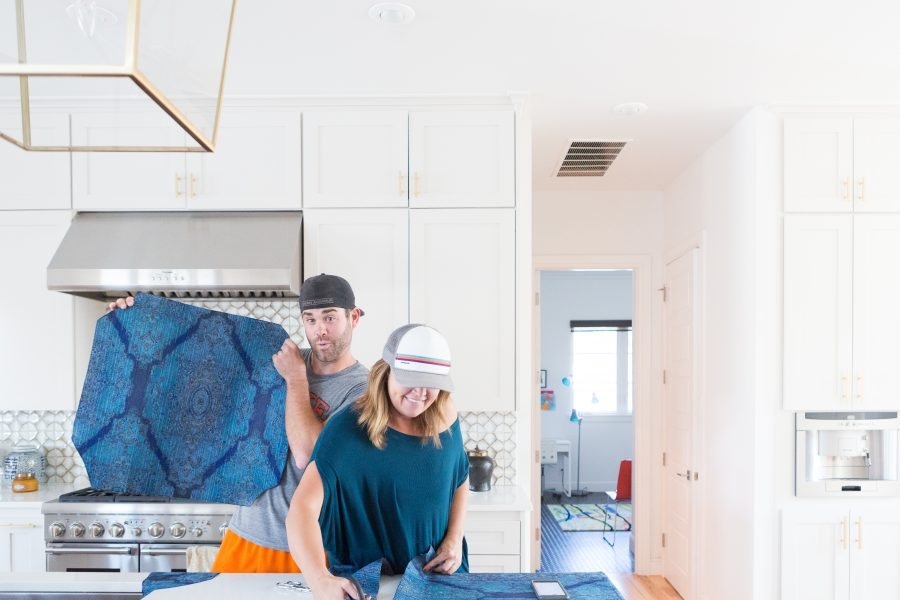
And finally, here is the finished project. I can’t show you too much because I don’t want to ruin the reveal but you guys…I’M OBSESSED. Mike Miller, you can give me that apology you owe me any time. Remember when I brought these chairs home when my sis found them at a thrift store and you were super annoyed with me and didn’t see their potential? Well, they turned out amazing so like I said, I’m ready to accept that apology and hear a “You were right Carissa, they look great” just whenever you are ready. PS…I’m a faster fabric cutter than you AND you stole the good scissors and you know it. I know you’re reading this.
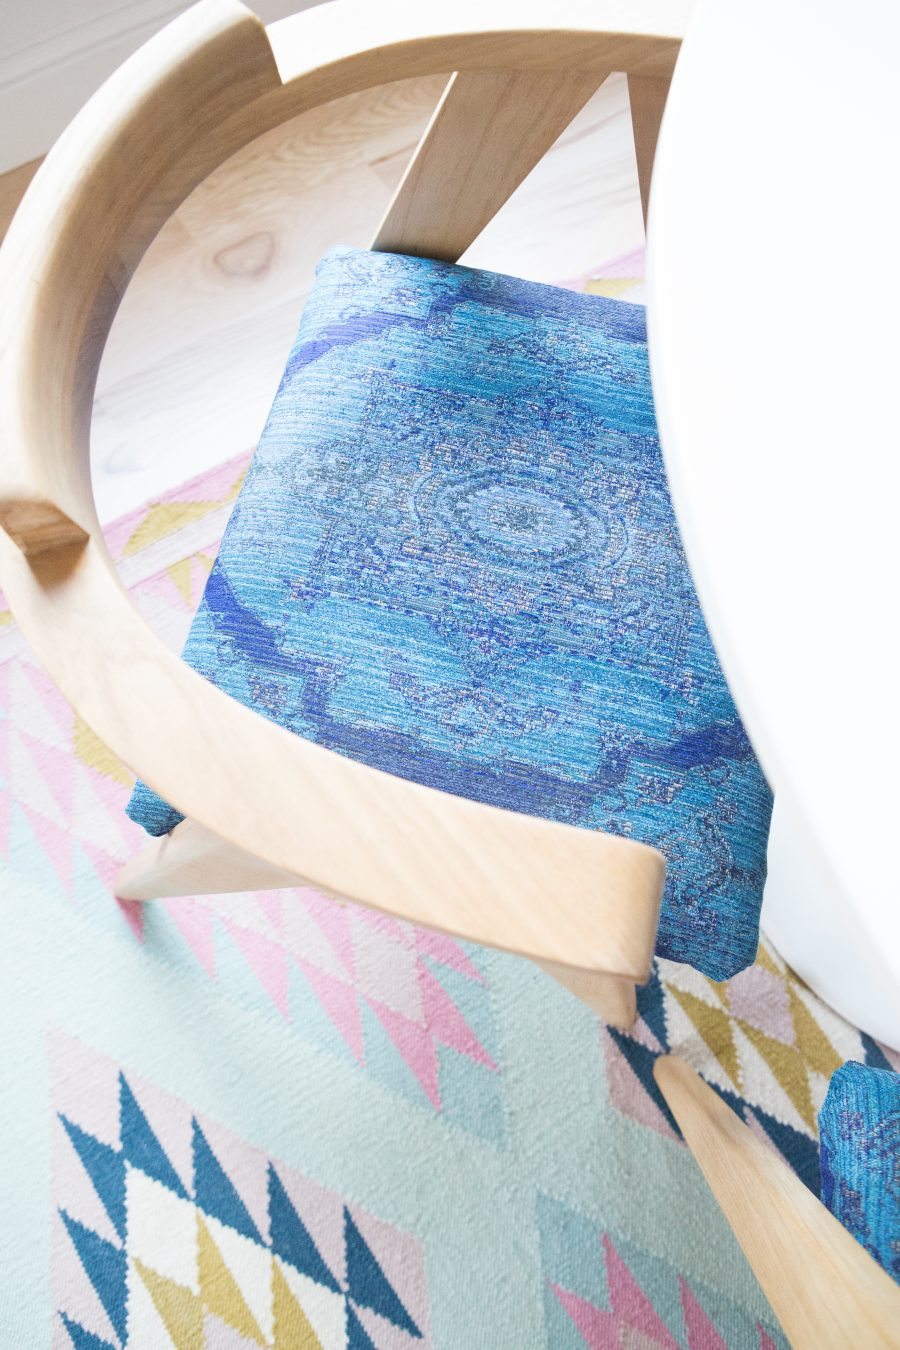
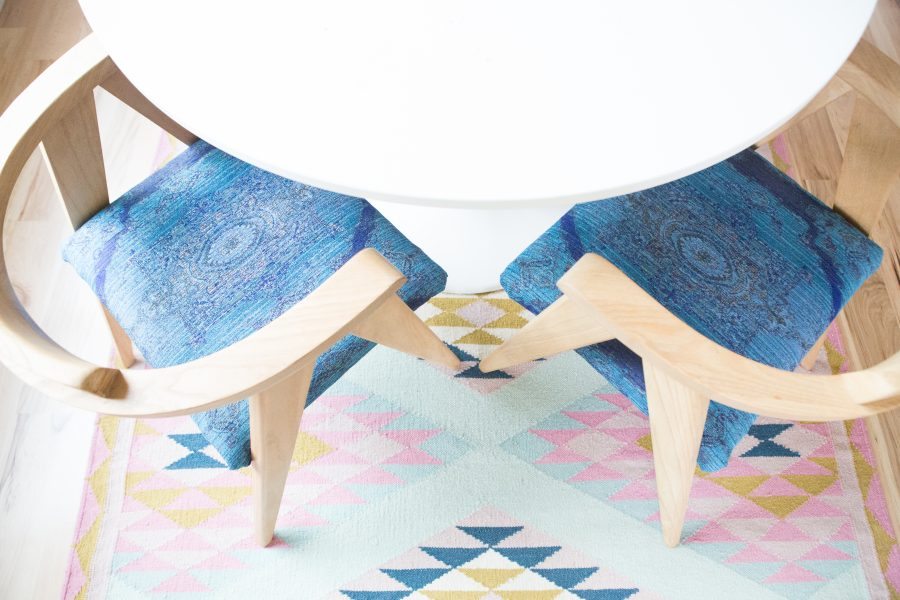
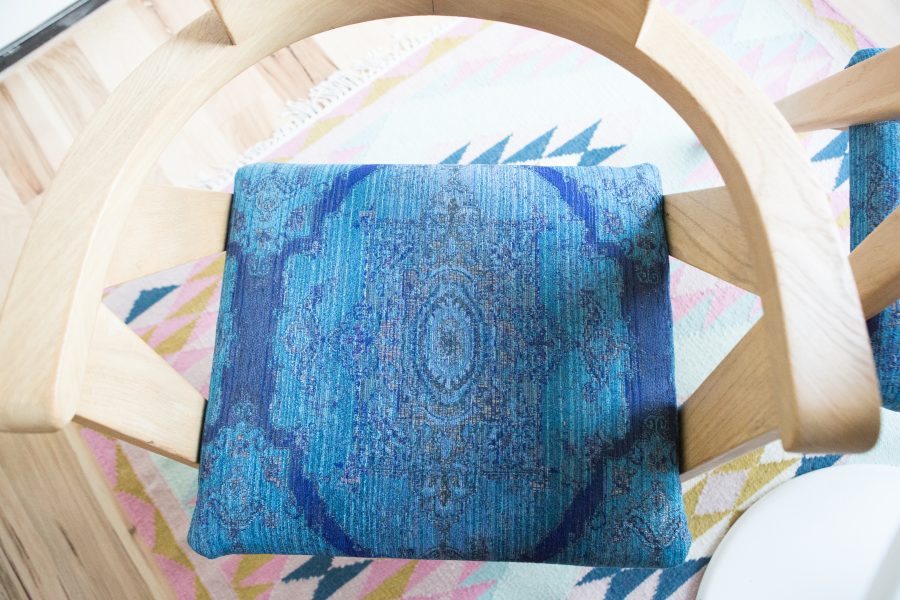
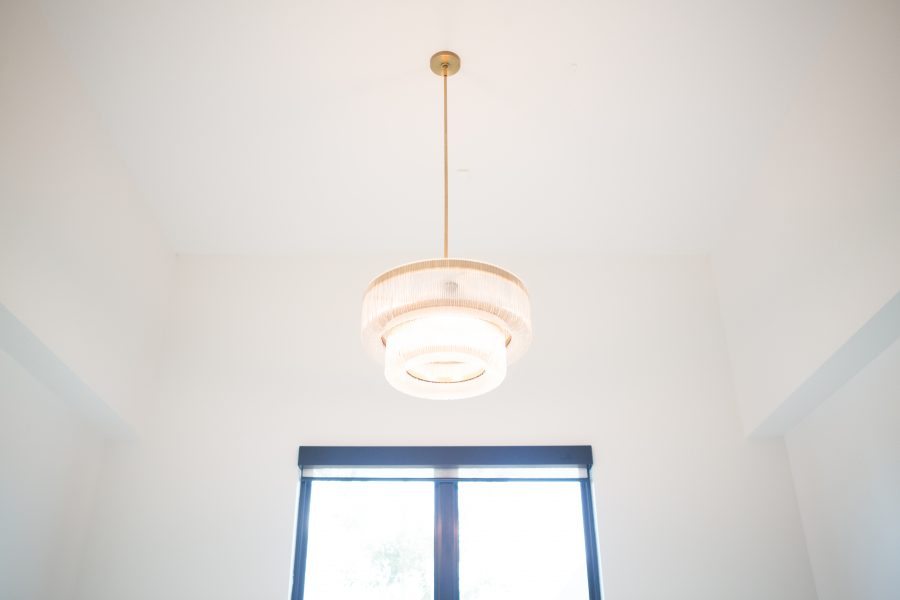
Oh yes ! Let me end week 4 with a glimpse of that West Elm waterfall chandelier in the nook area. You guys…I’m starting to see it come together—waterfall chandelier, wishbone chairs with gorgeous fabric on the seat cover, Elodie rug, white modern table, gold bamboo frames, chinoiserie plates. I really feel like it’s going to be simple but beautiful and I can’t wait to finish this project up and show you guys the final room reveal. Only two more weeks to go!
Here’s what I have left to do…
- Choose my print and have my thrift store frames matted and framed with the new print art. You can read more about that in Week 3.
- Go thrifting and find more blue and white chinoiserie plates for the plate collage wall
- Hang plate collage on the wall
- Find vase and centerpiece for the table
- find plant stands and decide on DIY hanging plants project
That’s it! We are on the home stretch! Thanks so much for following along with us as we take on the One Room Challenge. Please make sure to check out all of the other amazing bloggers and designers participating in this event here.
If you’re not already, we would love it if you would follow along with us on Facebook | Instagram | Twitter
